jeudi 30 mars 2017

Orchid Beauty - Maja Design DT

Bonjour à toutes,

Aujourd'hui je suis sur le blog de Maja Design with une nouvelle page réalisée avec les colletions Enjoying Outdorrs et I Wish.

Hello Sweeties

Today, I'm up on Maja Design blog with a new layout featuring both the "Enjoying Outdoors" and the "I Wish" collections. 

Photo: Comfreak

Comme d'habitude, j'ai commencé par protéger le fond avec une couche d egesso transparent. Pendant qu'il séchait, j'ai préparé une pâte avec du gel 3D brillant et des poudres de mica Rust et Gold Opal Magic. J'ai ajouté unpremier motif avec cette pâte et un pochoir.

As usual, I primed the background with clear gesso. While it was drying, I prepared a paste with 3D Gloss Gel and the Rust and the Gold Opal Magic Mica Powders. I added a first design with this homemade paste and a stencil.


J'ai préparé une deuxième pâte avec de la peinture Art Alchemy Rusty Red et de poudre de texture : le résultat est une pâte mate que j'ai appliqué avec un autre pochoir pour ajouté une deuxième motif et j'ai laissé sécher le tout.

I prepared a second paste with the Rusty Red Art Alchemy and the Texture Powder: the result is a matte paste. I used a second stencil to add another design and let dry everything.


J'ai peint les orchidées avec la peinture Rusty Red et j'ai ajouté encore plus d'or avec la poudre Gold Opal Magic. J'ai découpé également des branches dans du papier aquarelle.

I painted the orchids with the Rusty Red paint and added more gold to them with the Gold Opal Magic. I die-cut some branches in a watercolor paper. 


J'ai coloré le fond avec une encre Moonshadows et des poudres Magical harmonisé avec les couleurs de la photo. J'ai également ajouté quelques tampons ici et là.

I colored the background with Moonshadow spray ink and Magicals to match the colors of the photo. I added also some random stamping.


J'ai coupé quelques papiers de la collection I Wish assortis aux couleurs de la photos pour matter la photo. Puis j'ai collé tous les embellissements avec du gel 3D.

I cut some papers from the I Wish collection to match and add under the photo. I glued all the embellishments with a 3D gel. 


Pour terminer, j'ai ajouté des microbilles et de flocons de mica.

To finish, I added some micro beads and mica flakes.

Matériels / Materials:

Maja Design papers:  

Having tea in the sunI wish Santa will remember me bsI wish we will have a tree bs
Enjoying Outdoors
Having tea in the sun
I Wish
Santa will remember me bs
I Wish
we will have a tree bs
I wish you a Happy Holiday bsI wish for peace and joy bs
I Wish
you a Happy Holiday bs
I Wish
for peace and joy bs


Other products: 
  • Spray Ink - Lindy's Stamp Gang (Moon Shadow: Long John's Silver);
  • Magical - Lindy's Stamp Gang (Shabby Turbine Teal); 
  • Stencils:
    • TCW (Victorian Sketchbook 6x6);
    • Finnabair Prima (Bubbles 12x12);
  • Flowers - Wild Orchid Crafts (Orchids);
  • Die - Memory Box (Sprouting Vine);
  • Art Alchemy - Finnabair Prima (Rusty Red);
  • Art Ingredients - Finnabair Prima (Texture Powder; Mica Powder: Gold Opal Magic, Rust; Mica flakes: Gold; Microbeads: Bronze, Splash);
  • Art Basics (Gesso Clear, 3D Gloss Gel, Soft Gloss Gel).
 

Where can you purchase MajaDesign Papers?

MajaDesign collections are sold all around the world - 33 countries and growing with new stores being added often. Are you looking for a store location that sells Maja collections? Here is a helpful Store Finder link to help you shop. If your favorite store is not on this list, consider asking them to carry MajaDesign.

mardi 21 mars 2017

My Castle's Journal cover

Bonjour à toutes,

Aujourd'hui, c'est un projet personnel que je vous propose : la couverture mon Castle's Journal.

Hello Sweeties

Today, I want to share with you a personal project: the cover of my Castle's Journal.


J'ai recouvert la couverture du journal avec de papiers de la colletion Salvage District. Puis j'ai ajouté deux motifs avec deux pochoirs différents: l'un avec de la pâte à craqueler transparente, l'autre avec tu gel 3D brillant et j'ai laissé sécher.

I covered the journal cover with papers from the Salvage District collection. I added two designs with two different stencils: one with clear crackle paste, the other with 3D Gloss Gel and I leave it to dry.
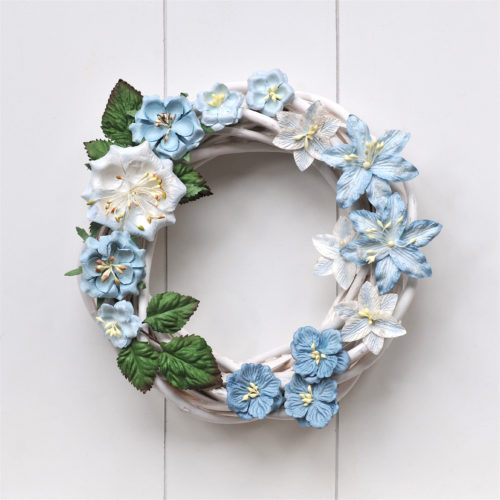

Puis j'ai commencé à faire ma composition. J'ai tout collé avec du gel Heavy Body. Je n'ai pas collé tout de suite les éléments rouillés, je les ai mis de côté pour les ajouter après.

Then I started to build my composition. I glued everything with the Heavy Body Gel. I didn't glue the rusted embellishments, I kept them to add them later.


J'ai recouvert tous les éléments avec du gesso blanc. J'ai également couvert le fond du très fine couche de gesso blanc.

I covered all the elements with the White Gesso. I also dry brushed the background with the white gesso.


Une fois tout sec, j'ai commencé à ajouter de la couleur: tout d'abord avec des Primary Elements que j'ai mélangé à de l'eau pour pouvoir les vaporiser.

When everything was dry, I started to add some colors: first  with the Primary Elements that I've mixed with water and sprayed.


J'ai ajouté de la pâte Rust Effect ici et là. J'ai paint certains éléments avec une peinture Opal Magic, en particulier les 'pebbles" et avec la Patina Light.

I added some Rust Effect Paste here and there. I painted some elements with the Opal Magic, especially the pebbles and with the Patina Light.


Une fois satisfaite du résultat, j'ai collé les éléments rouillés.

I glued the rusted elements when all the paints were done.


Matériels / Materials:
  • Primary Elements - ColourArte (Honey Amber, Desert Clay, Bashful Blue);
  • Journal - Finnabair Prima (Mixed Media Journal);
  • Papers - Prima (Salvage District A4);
  • Relic & Artifacts - Prima (Flaming Heart Ex Votos II);
  • Stencils: 
    • Finnabair Prima (Doily 1);
    • Idea-ology (Lattice Work);
  • Flowers - Prima (Gold Kiss);
  • Chipboards - Blue Fern Studios (Roman Clock Set Small, Grand Ornament);
  • Mechanicals - Finnabair Prima (Gears, Steampunk Gears, Rustic Washers, Mini Knobs);
  • Art Ingredients - Finnabair Prima (Pebbles);
  • Art Alchemy - Finnabair Prima (Light Patina; Opal Magic Blue-Gold );
  • Art Extravagance - Finnabair Prima (Rust Effect Paste, Clear Crackle Paste);
  • Art Basics - Finnabair Prima (3D Gloss Gel, Heavy Body Gel, Soft Matte Gel, White Heavy Gesso).

jeudi 16 mars 2017

Family - Maja Design DT

Bonjour à toutes,

Aujourd'hui je suis sur le blog de Maja Design avec une page réalisée avec la collection Sofiero. J'ai choisi une photo de famille avec ma grand-mère, mon père, ma tante. Malheureusmet je ne suis pas sûre qui sont les deux autres.

Hello Sweeties

Today I'm up on Maja Design blog with a layout featuring the Sofiero paper collection. I chose a photo of my family: my grandmother, my father, my aunt and unfortunately I'm not sure who the other two are.


J'ai comencé par recouvrir le papier de fond d'une couche de gesso transparent. Pendant que ça séchait, j'ai coupé quelques papiers dans le bloc 6x6 Vintage Romance que j'ai collé sur le fond. Puis j'ai ajouté une légère couche de gesso blanc.

I primed the background with clear gesso. While it was drying, I cut a few papers from the Vintage Romance 6x6 pad that I glued on the background. Then I added a thin layer of white gesso. 


J'ai ajouté un motif à l'aide d'un pochoir et de différentes mediums : pâte à craqueler transparente, blanche et white sand. Une fois sec, j'ai ajouté de la couleur avec la peinture Sparks Iris Potion diluée.

I added a design with a stencil and different pastes: clear crackle, white crackle, and white stone. When dry, I added some color with Iris Potion Sparks paint that I watered down.


J'ai coupé des feuilles dans du papier aquarelles. J'ai coloré les "Sprouting vine" avec de la peinture Sparks Raven et les feuilles avec des Twinkling H2Os. Puis j'ai ajouté une couche de cire Antique Brillance Amethyst. J'ai également ajouté de la cire sur le fond pour lui donner un effet plus vintage.

I die-cut some leaves in a watercolor paper. I colored the "Sprouting vine" with Raven Sparks and the leaves with Twinkling H2Os. Then I covered them with the Antique Brillance Amethyst Magic. I added some wax on the background too to add a vintage look. 


J'ai coloré quelques fleurs avec un spray de Primary Element et d'eau. Avant de coller tous les embellissements, j'ai tamponné ici et là avec une encre Archival et de painture Sparks Raven. J'ai ajouté un nichoir en résine que j'ai coloré avec la même cire.

I colored some flowers with a spray made of Primary Element and water. Before gluing all the embellishments, I added some random stamping with an Archival ink and with the Raven Sparks. I added a little bird house that I colored with the wax too. 


Pour terminer l apage, j'ai ajouté des microbilles.

To finish the layout I added some micro beads.


Matériels / Materials:

Maja Design papers:


Sofiero
Princess Margareta's Garden
Time for reflectionTags and Journaling cards bsVåffla m. björnbärssylt841 - Vintage Romance Paper pack
Enjoying OutdoorsSka vi ta en Fika?Vintage Romance
Time for reflectionTags and Journaling cards bsVåffla m. björnbärssylt6x6 Paper pad

Other products:
  • Twinkling H2Os - ColourArte (Wild Vine, Cedar Wood);
  • Primary Elements - ColourArte (English Lavender);
  • Dies - Memory Box (Botanical Stem, Sprouting Vine);
  • Stencil - Prima (Wild Roses);
  • JResin embellishments - Prima (Bird Houses);
  • Stamps - Finnabair Prima (Messy, Read to Me);
  • Art Ingredients - Finnabair Prima (Micro Beads: Silver, Berry);
  • Art Alchemy - Finnabair Prima (Sparks: Iris Potion, Raven; Antique BrillanceWax: Amethyst Magic);
  • Art Extravagance - Finnabair Prima (White Sand, Clear Crackle Paste, White Crackle Paste);
  • Art Basics - Finnabair Prima (Clear Gesso, White Gesso, Soft Gloss Gel).  
 

Did you know Maja Design is on Social Media?

Pinterest: Did you know that Maja Design has a Pinterest Page? You can find it right here.
Facebook: You can follow us on Facebook right here and of course "LIKE" us.
Instagram: Maja also has an Instagram account – majadesigninsweden.
(Use the hashtag #majadesigninsweden or the tag @majadesigninsweden
with your Maja papers so we can find you.)
YouTubehttps://www.youtube.com/user/MajaDesignChannel

samedi 11 mars 2017

Remember - 49 and Market DT

Bonjour à toutes,

Aujourd'hui je suis sur le blog de 49 and Market avec une page réalisée avec la nouvelle collection Looking Through. J'ai combiné la nouvelle collection des fées avec l'ancienne.

Hello Sweeties

Today I'm up on 49 and Market blog with a layout featuring the new paper collection Looking Through. I combined the new Fairies collection with the old one.


Avant de recouvrir le fond avec du gesso transparent, j'ai collé le papier sur un carton épais. Puis j'ai collé quelques morceaux de papier que j'ai découpé dans la collection Flower Fairies pour donner un peu de texture. Je les ai recouvert d'une fine couche de gesso.

Before priming the background with clear gesso, I glued the paper on a thick cardstock. Then I glued some scrap of papers I've cut in the Flower Fairies collection to add some texture. And I covered them with a thin layer of gesso.


Un fois sec, j'ai ajouté un motif à l'aide d'un pochoir et de gel 3D brillant. Pendant ce temps, j'ai peint les chipboards avec la peinture Sparks Raven Black, puis j'ai ajouté de la cire Mystique Turquoise. Le résultat est superbe et la couleur est parfaitement assortie à celle du fond.

When dry, I added a design with a stencil and 3D Gloss Gel. While it was drying, I painted the chipboards with the Raven Black Sparks, then I added some Mystic Turquoise wax. The result is so beautiful and matched perfectly the color of the background.


J'ai découpé quelques feuilles que j'ai coloré avec des Twinkling H2Os. J'ai ajouté une peu de brillant aux fleurs avec des micas Silver Pearl.

I die-cut some leaves that I colored with Twinkling H2Os. I added some shimmer to the flowers with the Silver Pearl mica powder.


Puis j'ai peint le fond avec quelques H2Os et la SParks Raven Black. J'ai ajouté quelques morceaux de napperon sous la photo et j'ai collé tous les embellissements: fleurs, chipboards et feullages.

Then I painted the background with some H2Os and the Raven Black Sparks. I added some scraps of doily under the photo and glued all the embellishments: flowers, chipboards, and leaves.


J'ai ajouté quelques tamponnages ici et là. Puis j'ai décidé d'ajouter des papillons. J'ai tamponné les papillons sue un carton et je les ai decoupés. Puis, je les ai embossés avec une poudre argent et je les ai tamponnés tant qu'ils étaient encore chaud. La dernière étape a été de les cirer avec la cire Mystic Turquoise.

I added some random stamping on the background. Then I decided to add some butterflies. I stamped the butterflies on a cardstock and I cut them. Next, I heat embossed them with a silver embossing powder and stamped them while the embossing powder was still hot. The last step was to cover them with the Mystic Turquoise Wax. 


J'ai également ajouté des taches avec la peinture Sparks Raven Black. Pour terminer, j'ai ajouté des microbilles et des glass glitter.

I also added some splatters with the Raven Black Spark. Finally, I added some micro beads and glass glitter.


Matériels / Materials:

49 and Market products:

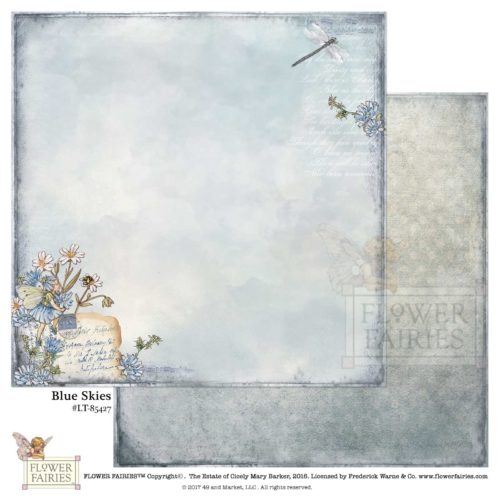
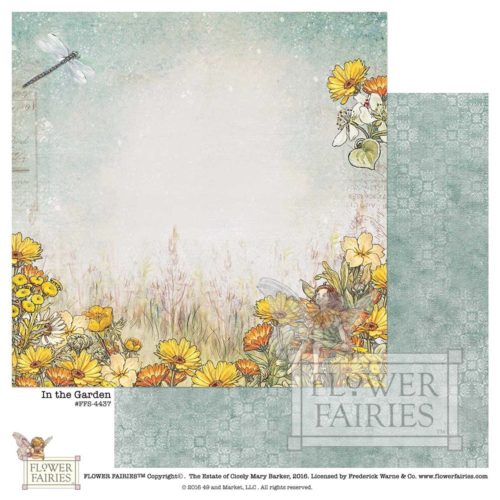
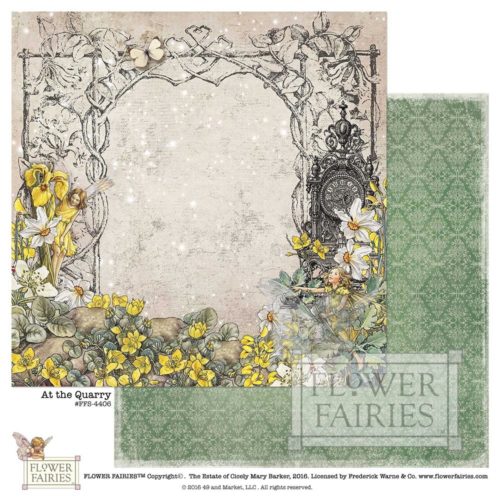
LT-85427 Looking Through: Blue SkiesFF In the Garden FFS 4437FF At The Quarry FFS 4406
Looking ThroughFlower Fairies 
Blue SkiesIn the GardenAt The Quarry
Multi Blue BM-85120Gabi Butterflies are free Stamp Set GP4611Gabi Label Stamp Set
Basic FlowersStamp Sets
Multi BlueGabi's Butterflies are freeGabi's Label
Other products: 
  • Twinkling H2O - ColourArte (Smokey Diamond, Wintermist Grey, Go Navy, Sweet Alfalfa);
  • Die - Memory Box (Wild Prairie Stem);
  • Stencil - Kesi'Art (Constellation);
  • Chipboard - Blue Fern Studios (Ginger's Poppies);
  • Glitter - Blue Fern Studios (Blue Ice);
  • Embossing Powder - Stampendous (Aged Silver);
  • Art Ingredients - Finnabair Prima (Mica Powder: Pale Silver, Micro Beads: Silver, Black, Glass Glitter: Platinum);
  • Art Alchemy - Finnabair Prima (Sparks: Raven Black, Antique Brillance Wax: Mystic Turquoise);
  • Art Basics - Finnabair Prima (Clear Gesso, White Gesso, Soft Gloss Gel, 3D Gloss Gel).

vendredi 10 mars 2017

The Journey ... - 49 and Market DT

Bonjour à toutes,

Aujourd'hui, je suis sur le blog de 49 and Market avec une page réalisée avec la nouvelle colllection Looking Through. J'ai choisi une photo du parrain de mon père : François Brandebourg (1880-1960).

Hello Sweeties

Today I'm up on 49 and Market blog with a new layout featuring my father's godfather: François Brandebourg (1880-1960). I worked with the new collection Looking Through.


J'ai commencé par protéger le papier de fond avec une couche de gesso transparent. Une fois, sec j'ai ajouté un premier motif à l'aide d'un pochoir et de pâte à craqueler argent. J'ai laissé naturallement avant d'ajouter un deuxième motif avec un deuxième pochoir et de pâte graphite.

I primed the background with clear gesso. When dry I added a first design with a stencil and silver crackle paste. I let dry naturally and added a second design with a second stencil and graphite paste.


Pendant que le fond séché, j'ai découpé des feuilles dans du papier aquarelle? J'ai coloré quelques fleurs et les feuilles avec des Twinkling H2Os et une encre en spray.

While the background was drying, I die-cut some leaves in a watercolor paper. I colored some flowers and the leaves with Twinkling H2Os and spray ink. 


J'ai collé tous les embellissements avec un gel 3D: les fleurs, les feuilles et des embellissements métalliques?

I glued the embellishments with a 3D gel: the flowers, the leaves, and some metal embellishments.


J'ai tamponné ici et là avec divers tampons et encres.

I added some random stamping with differents stamps and inks. 


J'ai terminé la page avec des microbilles et des glass glitter.

I finished the layout with some micro beads and glass glitter.


Matériels / Materials:

49 and Market products:

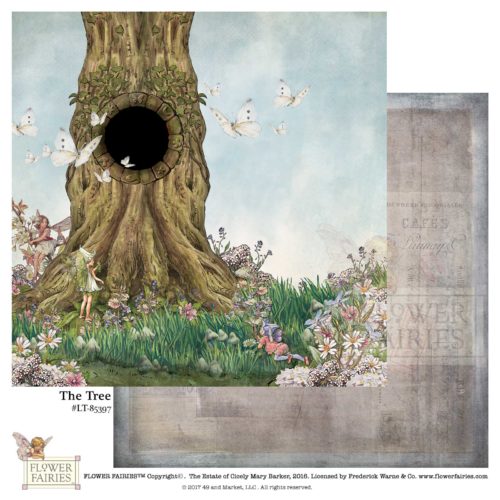
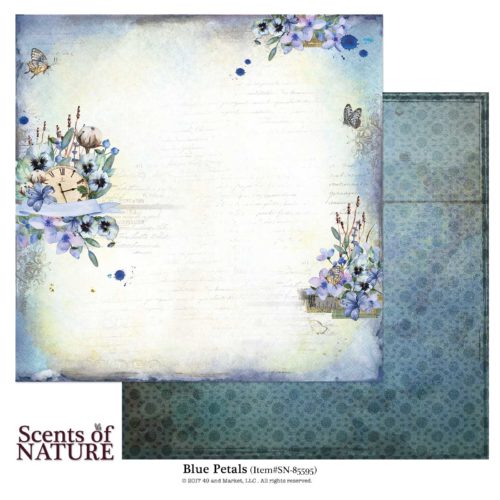
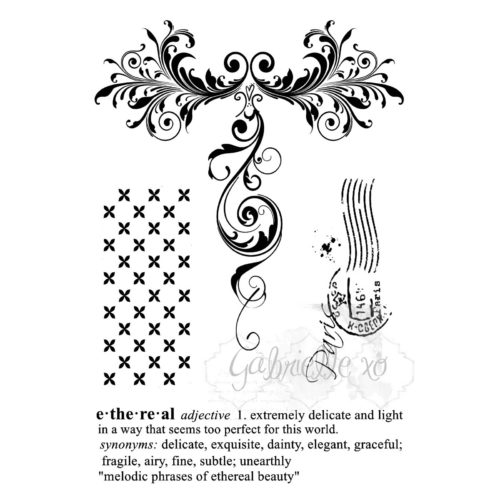
Looking Through: The TreeScents of Nature: Blue PetalsGP-85564 Gabi's Ethereal Stamp Set
Looking Through
The Tree
Scents of Nature
Blue Petals
Gabi's Ethereal
Stamp Set
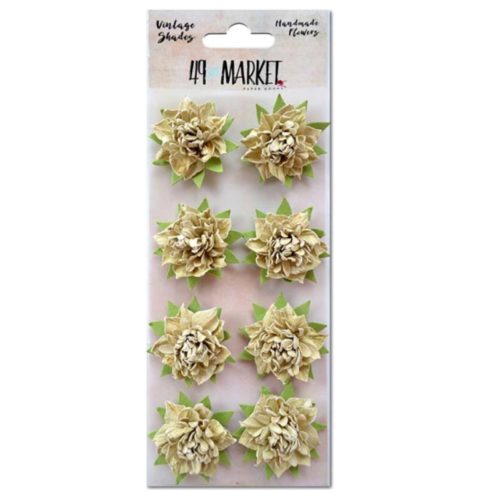
Vintage Shades - Ecru BlossomsGabi Label Stamp Set
Vintage Shades
Ecru Blossoms
Floral Mixology
Pina Colada
Gabi's Label
Stamp Set

Other products:
  • Twinkling H2O - ColourArte (Go Navy);
  • Primary Elements - ColourArte (Moss Agate);
  • Spray Ink - Lindy's Stamp Gang (Shadow Mist: Long John's Silver);
  • Die - Poppystamps (Freida Leaf);
  • Stencils :
    • Memory Box (Mesh);
    • Finnabair Prima (Alpha);
  • Mechanicals - Finnabair Prima (Pendants, Flowers Small, Mini Brads, Mini Hardware, Clock Face, Washer);
  • Art Ingredients - Finnabair Prima (Microbeads: Black, Glass Glitter: Platinum);
  • Art Extravagance - Finnabair Prima (Silver Crackle Paste, Graphite Paste);
  • Art Basic - Finnabair Prima (Clear Gesso, Soft Matte Gel, 3D Matte Gel).


Related Posts Plugin for WordPress, Blogger...