mardi 27 février 2018

Frame Hoop - Lindy's Gang DT

Bonjour à toutes,

Aujourd'hui je suis sur le blog de Lindy's Gang avec un nouveau projet : un cadre tambour.

Hello Sweeties

Today I'm up on Lindy's Gang blog with a new project: a frame embroidery hoop.


J'ai commencé par mettre un morceau de tissu dans le cercle à broder que j'ai recouvert d'une couche de gesso blanc.
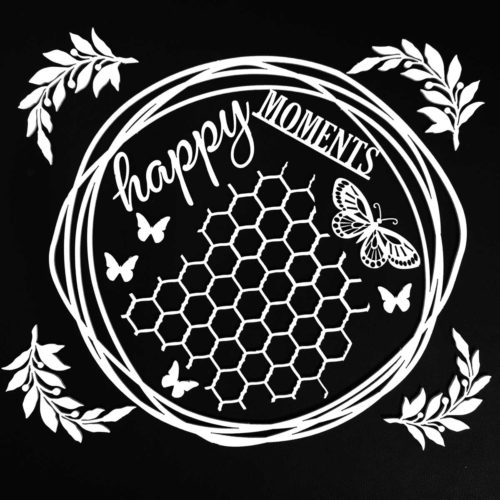
Une fois sec, j'ai ajouté un motif à l'aide d'un pochoir et d'une pâte à craqueler blanche que j'ai laissé sécher naturellement pour permettre aux craquelures d'apparaitre.

First I put a piece of fabric in the embroidery hoop. Then, I primed the fabric with white gesso.
When dry, I added a design with a stencil and white crackle paste. I let dry naturally to allow the crackle to appear.


Avant de coller le cadre, j'ai ajouté de la cartonnette sous 3 côtés afin de pouvoir metre une photo et de pouvoir la changer.
Une fois le cadre en place, j'ai collé tous les embellissements avec du gel 3D.

Before gluing the frame, I added some cardstock to the frame on 3 sides, in order to be able to put a photo and to change if I want.
The frame in place, I glued all the embellishments with a 3D gel. 


Une fois sec, j'ai peint tous les embellissments avec du gesso blanc. Une fois sec, j'ai ajouté une deuxième couche.
ET maintenant il est temps d'ajouter un peu de couleur, j'ai commencé par différentes encres en spray: Tainted with Love, Whale Watch Blue et Silhouette Silver.

When dry, I painted all the embellishments with white gesso. When dry, I added a second layer.
Time to add some colors, I started with different spray inks: Tainted with Love, Whale Watch Blue ad Silhouetted Silver.


ENsuite, j'ai ajouter des Magicals : Steel Shimmer et Steampunk Sepia.
Une fois contente du résultat, j'ai tamponné ici et laà avec une encre Archival.

Next, I added some Magicals: Steel Shimmer and Steampunk Sepia.
When happy with the result, I added some random stamping with an Archival ink. 


Ensuite, j'ai ajouté des tâches noires. J'ai utilisé un "enamel accent" pour éviter la peinture noire de fuser dans les craquelures. puis j'ai embossé avec la poudre Twilight Blue Slate des tâches réalisées avec du gel médium dilué.

Next, I added some black splatters. I used an enamel accent to avoid the black paint to fuse in the crackles.Next, I embossed with the Twilight Blue Slate EP some splatters of soft gel, that I've watered down before.


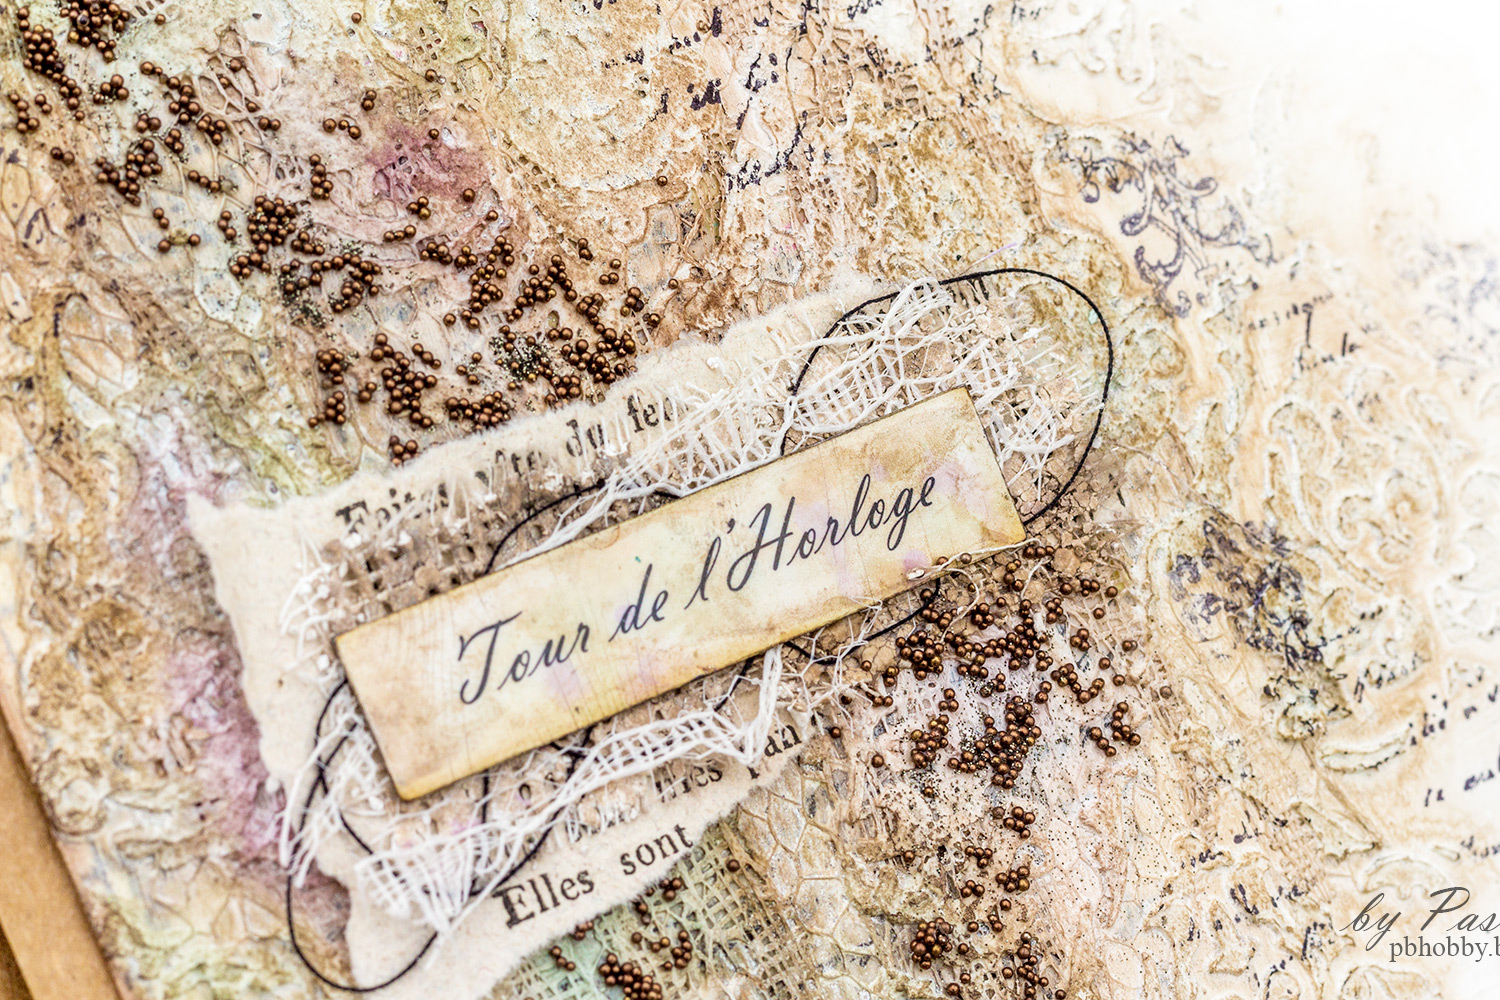
Et voici quelques gros plans du projet fini :

And here are some close-up of the finished project:


Matériels / Materials:

Lindy's Gang products:

Tainted Love Teal

Tainted Love Teal

Whale Watch Blue

Whale Watch Blue

Silhouette Silver

Silhouette Silver
Industrial Chic- MAGICAL Shimmer Powders
Industrial Chic
Twilight Blue Slate
Twilight Blue Slate EP
Other products:

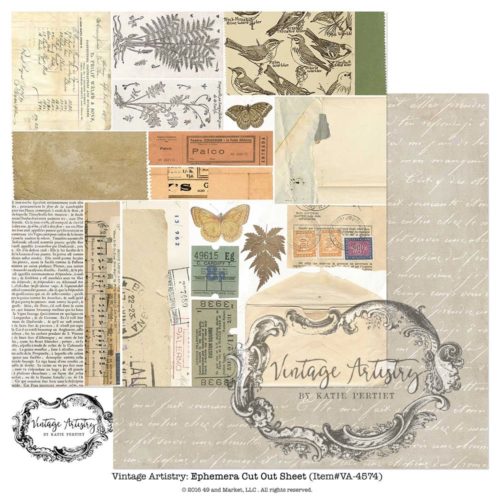
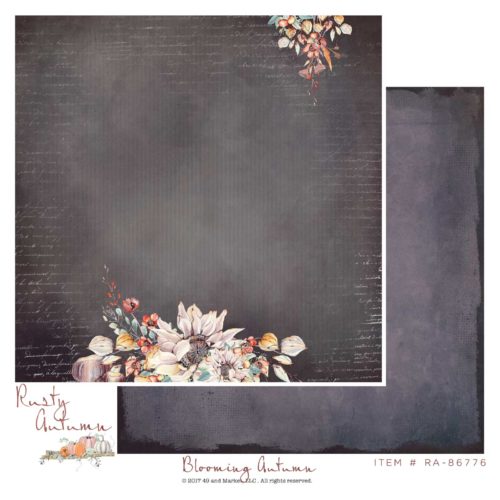
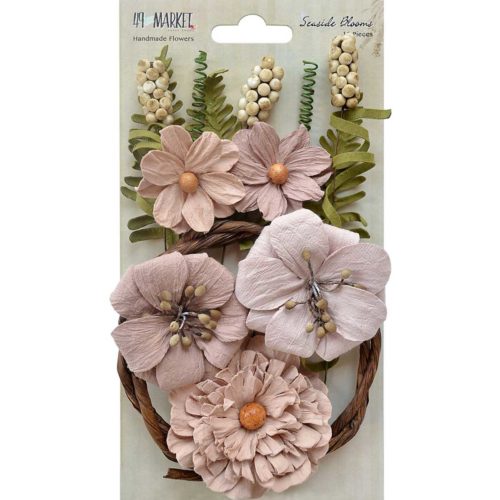
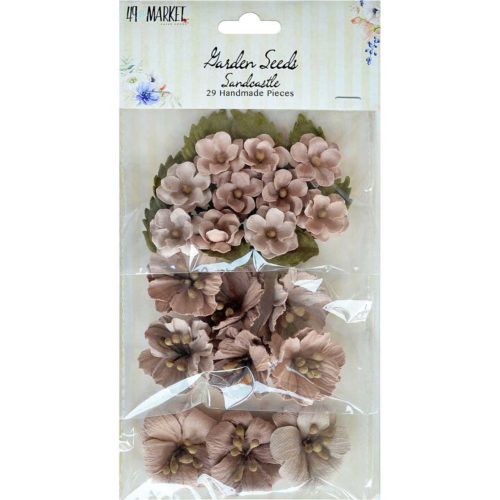
  • Flowers - 49 and Market (Blossom Blends: Sea Breeze, Garden Seeds: Sea Breeze, Vintage Shades: Sage);
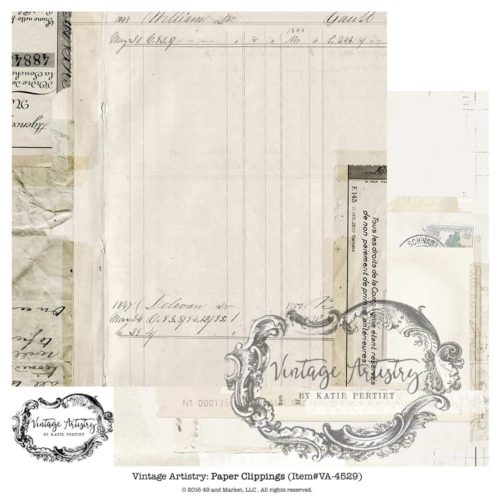
  • Stamps - 49 and Market (Pascale's Writing);
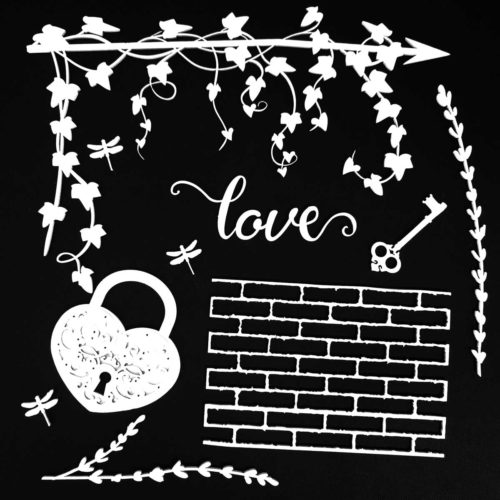
  • Stencil - Stencil Girl (Square Celtic Knots);
  • Art Ingredients - Finnabair Prima (Art Stones, Méga Art Stones);
  • Art Extravagance - Finnabair Prima (White Crackle Paste);
  • Art Basics - Finnabair Prima (Heavy White Gesso, 3D Gloss Gel, Soft Matte Gel).

dimanche 25 février 2018

Road Trip - Maja Design DT

Bonjour à toutes,

Aujourd'hui je suis sur le blog de Maja Design avec une nouvelle page réalisée avec la collection Celebration.

Hello Sweeties

Today I'm up on Maja Design blog with a new layout featuring the Celebration collection.

Photo by Greyerbaby

J'ai commencé par protéger le fond avec du gesso transparent. Ensuite, j'ai mélangé de la pâte à craqueler blanche avec une poudre Magical brune. J'ai utilisé cette pâte avec un pochoir pour ajouter motif.

As usual, I primed the background with clear gesso. Next, I mixed some white crackle paste with a brown Magical. I used this paste to add a design with a stencil.


Pendantque la pâte à craqueler séchée, j'ai coloré les chipboards (feuiles et fleurs) avec diverses encres. J'ai embossé le centre des Spring Flowers pour ajouter un peu de texture. J'ai ciré les vis avec une cire or rose.

While the crackle paste was drying, I colored chipboards (the foliage and the flowers) with different inks. I embossed the middle of the Spring Flowers to add some texture. I waxed the screws with a rose gold wax.


J'ai également coloré quelques fleurs avec une encre brune.

I also colored some flowers and vines with a brown ink. 


Le fond sec, j'ai ajouté de la couleur avec les mêmes encres que j'ai utilisé pour colorer les chipboards.

The background dry, I added some colors with the same inks I used to color the chipboards.


Une fois contente du résultat, j'ai tamponné ici et là avec deux tampons et deux encres Archival. Ensuite, j'ai coupé quelques papiers pour mettre sous la photo et j'ai collé tous les embellissements avec un gel 3D.

When happy with the result, I added some random stamping with two stamps and two Archival inks. Next, I cut a few papers to add under the photo and I glued all the embellishments with a 3D gel.


Pour finir la mise en page, j'ai ajouté des microbilles.

To finish the layout I added some microbeads.


Je me suis inspirée du tableau d'inspiraion de Dusty Attic

I follow the mood board from Dusty Attic.


Matériels / Materials:

Maja Design Papers:


Celebration
You're Invited bs

Celebration
6x6 Paper Pad
928 - Paper Pack
Denim and Friends
6x6 Paper Pad

Other products: 
  • Flowers - 49 and Market (Garden Blooms: Alabaster, Garden Vine: Alabaster);
  • Stamps - 49 and Market (Pascale's Writing, Gabi's Sunshine);
  • Archival Board - 49 and Market/Dusty Attic (Timeless Black);
  • Chipboard - Dusty Attic (Spring Bloom #1, Foliage #3);
  • Spray Inks - Lindy's Gang (Starburst: Whale Watch Blue, Moonshadow: Incandescent Copper);
  • Magical - Lindy's Gang (Steampunk Sepia, Afternoon Delight Denim);
  • Embossing Powder - Lindy's Gang (Twilight Blue Slate);
  • Stencil - Prima (Floral Petites);
  • Art Alchemy - Finnabair Prima (Wax: Rose Gold);
  • Art Ingredients - Finnabair Prima (Microbeads: Bronze);
  • Art Extravagance- Finnabair Prima (White Crackle Paste);
  • Art Basic - Finnabair Prima (Clear Gesso, 3D Gloss Gel, Soft Matte Gel).
 

Where can you purchase MajaDesign Papers?

MajaDesign collections are sold all around the world - 33 countries and growing with new stores being added often. Are you looking for a store location that sells Maja collections? Here is a helpful Store Finder link to help you shop. If your favorite store is not on this list, consider asking them to carry MajaDesign.

lundi 19 février 2018

The Clock Tower - Castle's Journal

Bonjour à toutes,

Aujourd'hui c'est une nouvelle page de mon " Castle's Journal " que je vous propose. Il s'agit de la Tour de l'Horloge qui garde l'entrée du château de Chinon (Indre-et-Loire, France).

Hello Sweeties

Today I have a new page from my Castle's Journal to share with you. It's the Clock Tower that keep the entrance of the Chinon castle (Indre-et-Loire, France).


J'ai commencé par protéger le fond d'une couche de gesso blanc. Ensuite, j'ai collé du "tissue tape" ainsi qu de la demetelle que j'ai également recouvert de gesso.

First I primed the paper with white gesso. Next, I glued some tissue tape as well as some lace that I primed with gesso too. 


Ensuite, j'ai ajouté un motif à l'aide d'un pochoir et de la pâte de papier de Finnabair.

Next, I added a design with a stencil and the new Finnabair's paper texture paste.


Une fois la pâte séche, j'ai ajouté un peu de couleur avec plusieurs encres, prinicpalement brune pour obtenir une page vintage.

When the paste was dry, I added some color  with different inks, mostly brown as I want to obtain a vintage page. 


Après avoir collé la photo et le titre, j'ai ajouté quelques microbilles.

After having glued the photo and the title, I added some microbeads.


J'ai terminé la mise en page avec quelques tampons ici et là.

To finish the layout, I stamped randomly with an Archival ink.


Matériels / Materials:

Spray inks - Lindy's Gang (Moon Shadow: Long John's Silver, Starburst: Witch's Potion Purple, Flat Fabio: C'est la vie Cerise);
Stencil - Stamper's Anonymous (Gothic);
Tissue Tape - Idea-Ology (Nostalgic);
Stamp - 49 and Market (Pascale's Writing);
Stamp - Prima (Bella Rouge);
Art Ingredients - Finnabair Prima (Microbeads: Bronze);
Art Extravagance - Finnabair Prima (Paper Paste);
Art Basic - Finnabair Prima (Heavy White Gesso, Soft Matte Gel).

jeudi 15 février 2018

Winner of the giveaway

Bonjour à toutes,

Voici le résultat du " Giveaway " la gagnante est Florence Quetin. Merci de bien vouloir me contacter ici :
scrap.tours@ hotmail.fr

Hello Sweeties,

Here is the result of the Giveaway, the winner is Florence Quetin. Thank you to contact me there:


scrap.tours@ hotmail.fr


Et en attendant voici un petit aperçu de mon prochain projet :

And in the meantime, here is a sneak peek of my next project: 


Did you know Maja Design is on Social Media?

Pinterest: Did you know that Maja Design has a Pinterest Page? You can find it right here.
Facebook: You can follow us on Facebook right here and of course "LIKE" us.
Instagram: Maja also has an Instagram account – majadesigninsweden.
(Use the hashtag #majadesigninsweden or the tag @majadesigninsweden
with your Maja papers so we can find you.)
YouTubehttps://www.youtube.com/user/MajaDesignChannel

Where can you purchase MajaDesign Papers?

MajaDesign collections are sold all around the world - 33 countries and growing with new stores being added often. Are you looking for a store location that sells Maja collections? Here is a helpful Store Finder link to help you shop. If your favorite store is not on this list, consider asking them to carry MajaDesign.

lundi 12 février 2018

Love - 49 and Market DT

 Bonjour à toutes,

Aujourd'hui je suis sur le blog de 49 and Market avec une nouvelle page réalisée avec la collection Vintage Artistry.

Hello Sweeties,

Today I'm up on 49 and Market blog with a new layout featuring the Vintage Artistry collection. 


Photo by Kinga Cichewicz on Unsplash

La première chose que j'ai faite c'est de protéger le papier de fond avec du gesso transparent. Puis j'ai ajouté un motif à l'aide d'un tampon XXL et de poudre à embosser transparente.

The first I've done was to prime the background with clear gesso. Then, I added a design with an XXL stamp and clear embossing powder. 


Ensuite, J'ai coloré le motif embossé avec plusieurs encres et des Magicals pour rendre visible l'image;

Next, I colored the embossed design with several inks and magical powders to allow the image to appear. 


Pendant que le fond séchait, h'ai coloré des Floral Mixology et des découpes de feuilles avec les mêmes couleurs.

While the background was drying, I colored some Champagne Floral Mixology and die cut leaves with the same colors.


J'ai coloré la montre et les rouages noir du set d'Archival Board Timeless avec plusieurs cires ainsi que le titre qui vient de set Love. J'ai peint ce dernier en noir avant d'appliquer les cires.

I colored the black clock and gears from the Timeless Archival Board set with different waxes as well as the title that came from the Love Archival Board set. I painted the last in black before applying the waxes. 


J'ai découpé des tickets de la feuille Ephemera Cut Out pour ajouter sous la photo et j'ai collé tous els embellissments avec du gel 3D ainsi que du fil métallique.

I cut some tickets from the Ephemera Cut Out sheet to add under the photo and I glued all the embellishments with a 3D gel as well as some metallic thread.


POur terminer la mise en page j'ai tamponné ici et là avc le set Pascale's Grammar et j'ai ajouté des flocons de mica ainsi que des microbilles.

To finish the layout I added some random stamping with the Grammar Stamp Set as well as some mica flakes and microbeads. 

Matériels / Materials:

49 and Market products:

Paper Clippings VA 4529

Vintage Artistry
Paper Clipping

Vintage Artistry Ephemera Cut Out Sheet VA 4574

Vintage Artistry
Ephemera Cut Out

AB-86721 6x6 Archival Board - Timeless (Black)

Archival Board 
Timeless (Black)

AB-86707 6x6 Archival Board - Love (White)

Archival Board
Love (White)

FM-85694 Floral Mixology - Champagne

Floral Mixology
Champagne

PB-86646 Pascale's Grammar Stamp (3x4)

Stamp
Pascale's Grammar

Other products:
  • Spray inks - Lindy's Gang (Starburst: Fuzzy Navel Peach, FlatFabio: C'est la vie Cerise - Moonshadow: Silhouette Silver);
  • Magical - Lindy's Gang (Shabby Turbine Teal, Grab a Guy Gold);
  • Stamp - Carabelle Studio (Histoire du temps);
  • Art Alchemy - Finnabair Prima (Waxes: Vintage Gold, Old Silver, Lucky Emerald);
  • Art Ingredients - Finnabair Prima (Microbeads: Bronze, Mica Flakes: Gold);
  • Art Basics - Finnabair Prima (Clear Gesso, 3D Matte Gel, Soft Matte Gel).

samedi 10 février 2018

E.the.re.al - 49 and Market DT

Bonjour à toutes,

Aujourd'hui je suis sur le blog de 49 and Market avec une nouvelle page réalisée avec la collection Rusty Autumn.

Hello Sweeties

Today I'm up on 49 and Market blog with a new layout featuring the Rusty Autumn collection. 

Photo: Engi Akyurt

J'ai tamponné ici et là avec deux tampons et deux encres Archival le fond autour de l'endroit où je voulais placer la photo. Ensuite, j'ai protégé le fond avec du gesso transparent.

I stamped randomly with two stamps and two Archival inks the background around the place I want the photo to be. Next, I primed the background with clear gesso. 

J'ai ajouté un motif à l'aide d'un pocoir et de gel 3D brillant. Pendant que le gel était encore humide, je l'ai saupoudré de poudre à embosser que j'ai

I added a design with a stencil and 3D Gloss Gel. While the gel was still wet, I added some embossing powder which I heated set. 


Ensuite, j'ai ajouté un peu de couleur au fond et des taches d'encre de chine noire.

Next, I added some colors to the background and some splatters of black drawing ink.


J'ai découpé des feuilles dans du papier aquarelle. Je les ai colorées avec différentes encres ainsi que du ruban.

I die cut some leaves in a watercolor paper. I colored them with different inks as well as ribbon.


J'ai embossé le cercle et coloré les papillons avec une encre rose.

I embossed the ring and colored the butterflies with a pink ink.


Ensuite, j'ai découpé quelques papiers pour mettre sous la photo et j'ai collé tous les embellissements. J'ai ajouté également quelques morceaux de dentelles.

Next, I cut a few papers to add under the photo and I glued all the embellishments. I added also some doily's strip.

Matériels / Materials:

49 and Market products:

RA-86820 Rusty Autumn Collection - Captivating
Rusty Autumn
Captivating
RA-86776 Rusty Autumn Collection - Blooming Autumn
Rusty Autumn
Blooming Autumn
RA-86837 Rusty Autumn Collection - Pumpkin Patch
Rusty Autumn
Pumpkin Patch
AB-86769 6x6 Archival Board - Happy Moments (White)
6x6 Archival Board
Happy Moments (White)
SB-86066 Seaside Blooms - Sandcastle
Seaside Blooms
Sandcastle
GS-86301 Garden Seeds - Sandcastle
Garden Seeds
Sandcastle
GP-85564 Gabi's Ethereal Stamp Set
Gabi's Ethereal
Stamp Set
GP-85878 Faded Damask Stamp Set (3x4)
Faded Damask
Stamp Set

Other products:
  • Starburst - Lindy's Stamp Gang (Bodacious Blush, Creme Brulee Cream);
  • Moon Shadow - Lindy's Stamp Gang (Long John Silver's, Incandescent Copper);
  • Embossing powder - Lindy's Stamp Gang (Café au Lait);
  • Dies:
    • Magnolia Doohickey (Summer Foliage);
    • Poppystamp (Freida Leaf);
  • Stencil - Prima (Spark);
  • Art Basics - Finnabair Prima (Clear Gesso, 3D Gloss Gel).

Related Posts Plugin for WordPress, Blogger...